We were all at the workshop bright and early and ready to carry on with our various tasks. All of us walked into the workshop very pleased with what we had achieved on Day 1 . . . which far exceeded our expectations. Of course we were intrigued as to how Day 2 would unfold . . .
Different Strokes . . .
As mentioned in the previous post, each of us is at a different stage in building our guitars. Phil has focussed on the sides and on parts of the neck, Patrick on his very beautiful back and my attention has been given to my top. Of course we have all done bits and pieces of other tasks while we waited for things to happen - like glues to dry and access to a specialised machine. These different starting points defined the day's activities for each of us.
Preparing the Top . . .
Given I am focussing on preparing my 'top' the activities associated with this predominated my day. The first task involved 'prepping' the top in the sander/thicknesser so I could make a final decision about which side would face the world and which side would be forever bound to look at the bottom of the guitar.
At the time it seems like a life and death decision - but in truth it makes little difference about the qualities or look of the guitar. Working with these woods is a real pleasure and the choices that we make along the way make little difference about anything - and I am happy with how things are turning out.
The next next task is in essence quite simple - mark out the shape of the guitar and cut around it using the band saw. However, the fact that you are actually cutting into something important makes it a serious step. Accuracy of cutting is also important - the cut needs to be within 2mm of the line. More than 2mm is correctable, less than, probably OK, but over the line can be terminal.
This was also the first time one of us had a something that vaguely resemembles a guitar so it seemed like a siminal moment and caused a ripple of excitement around the workshop!
 |
| Marking the Shape |
 |
| Cutting under way . . . |
 |
| Starting to look like a guitar! |
 |
| Cleaning the top up again |
Decision Time - Again . . .
Once the top was prepped and ready for action I now needed to decide about what kind of rosette (the decoration around the hole in the front of the guitar) that I wanted. Frankly the options are limitless and this fact alone can be intimidating . . . there are few frames of reference other than person preference.
Once I had drilled a hole which represented the centre of my sound hole, I spent some considerable time experimenting with various options and even drew them out on the guitar. I referred to the 'Encyclopedia of Acoustic Guitars' a few times and considered numerous combinations and permutations of decoration - and of course none of them have any impact at all on the sound of the instrument!
In the end I chose a very classical design - a main herringbone pattern and another simple pattern made up of various veneers. Having said that, I simplified it even further once I had laid it out on the top of the guitar - the inside rosette was removed altogether.
 |
| The primary rosette . . . |
On this subject, the other students have chosen quite different rosettes. Patrick is going for a 'bling' mother of pearl inlay and Phil is manufacturing his own marquetry of various wood veneers . . . I am sure they will all look wonderful. That said, I cannot even remember looking at the rosette when I was choosing a guitar - so it isn't a critical factor in any way at all!
Getting Routed . . .
Routing out the channels for the rosettes was a nerve-wracking business . . . we are dealing with the front of the guitar of our dreams and cutting a couple of bloody great channels in it! I did the job super slowly and despite my considerable constenation everything turned out fine - mind you, I had to sand various bits back quite agressively to make a neat groove.
 |
| Starting to rout |
 |
| The first one done |
 |
| The special jig |
 |
| The second one done |
Getting Rosetted . . .
The next task involved 'assembling' the various layers of herringbone and veneers so they would fit in the groove. This sounds easier than it appears and it assumes you have cut them all to the right length. Predictably I had to recut a few veneers, but I eventually got everything ready for the first insertion.
This is a complicated task . . . the first step involves inserting everything into the groove (not as easy as it sounds) and then planing it all down to a workable level.
 |
| Getting in the groove . . . |
 |
| First rosette firmly in place |
More Theory . . .
Today's theory session was especially interesting. The workshop has recently been blessed with a whiteboard, acquired from a skip, and all visitors are commenting on it! Richard took his place up near this vertical lectern and gave us some background information about the physics and dynamics of how guitars make a sound - and what influences the qualities of the sound.
In summary, guitars are a very low energy instrument as each string is singularly plucked or strummed - compared to a bowed string instrument where the energy source is continuous. Therefore, it is the role of the accoustic box of the guitar to convert and amplify this energy source. The bridge (where the strings are attached to the box) acts as an exciter and rocks the top . . . it is an impedence matching device and transfers the engergy of the strings to the sound box.
To complicate things further, the sounds produced and resonating through the top and in the box are of various modes or harmonics. The primary wave is the dominant harmonic, but of course there are the dipole and other other harmonics that are produced and resonate around the guitar in various ways during the attack and decay of each pluck or strum.
The type of wood the sound board (top) is made from influences these harmonics - as does its thickness and the way it is braced. In the end the columns of air inside the box are excited in certain ways and the back of the guitar moves in and out of phase with the top. The sound itself does not actaully come from the sound hole but rather it radiates from all surfaces - mostly the top . . . hence the need to be in front of a guitar to really hear its real qualities, which of course you cannot do while playing it!!
Every accoustic box has Helmholtz resonance - a phenomenon associated with the way in which the air moves inside a cavity. When the external force pushing the air into the cavity is removed, the higher-pressure air inside will flow out. However, this surge of air flowing out will tend to over-compensate, due to the inertia of the air in the neck, and the cavity will be left at a pressure slightly lower than the outside, causing air to be drawn back in. This process repeats with the magnitude of the pressure changes decreasing each time, thus setting up a resonance.
Richard demonstrated this with a guiitar - both playing it and speaking across the sound hole. The trick for guitar builders is to attempt to avoid getting the resonance at a point that is commonly played, otherwise the guitar's sound won't be even. This guitar's harmonic resonance is somewhere around G# - and of course it is all neatly summarised on the white board!
 |
| Harmonic resonance in action |
 |
| A picture is worth a thousand words . . . |
In summary, builders should aim to achieve a sound that allows all frequencies to be reasonably balanced with each other while ensuring that the instrument stays together! All in all, this is yet another 'dark art', I suspect!
Back to the Back . . .
While my first rosette was setting I again turned my attention to the back of the guitar - and making even more decisions!! This guitar-making is a nerve-wracking business!
The first task was to clean up the joined back pieces using the big sander - and then decide which way I would cut the shape of the guitar out. Again, I have never decided on a guitar on the basis of the way the woods on the back looked - but at the time is seems like a big decision. After much consternation, consideration and discussion with Richard, I eventually bit the bullet and cut it out what seemed to be the best way.
Then it was back to the sander to clean it up some more and make yet another decision - which side would be facing the world and which side would be forever hidden. Once that was determined I then sanded back the 'chosen side' with the orbital sander to get a good finish - and the next task will be 'thickness' (actually thin - but that's what we say) the entire back down to about 2.4mm - which means I need to get about 1.6mm off. That will be one of tomorrow's tasks.
 |
| Taking shape |
Revealing the Rosette . . .
The last task of the day for me was to remove the clamps from the rosette and reveal it to the world! This again caused a ripple of excitement around the worshop - and I am happy to say that I am delighted with the result!
 |
| The first rosette revealed |
The Others . . .
Both Patrick and Phil have been beavering away all day doing their back and sides respectively - with a couple of minor errors along the way.
Patrick chose to hand 'thickness' (?) his back using a luthier's plane - it looked like hard work and it seemed to take him most of the morning - although he has done a wonderful job. He did have a couple of little problems along the way - the joint in his segmented back came apart a little and a little divot appeared on the outside surface. But true to his word that 'everything is fixable', Richard quickly did some magic and they were both resolved. The superglue and sawdust trick was a good one - it fills any little holes.
Another interesting thing that Patrick did was to start to shape a gutter graft and eventually stick it down the middle of his back in a special device which gives some curvature to the back.
 |
| Thicknessing the back |
Meanwhile Phil bent one of his sides using a special bending machine and he also continued working on the various blocks that are used to brace the inside of the guitar. He managed to frustrate himself by drilling a hole slightly off centre after having spent some hours getting the piece of wood perfect - but it was quickly resolved by self imposed lunchtime detention! Phil also became our first injury - he cut two of his fingers and needed to use some plasters.
 |
| Bending the side |
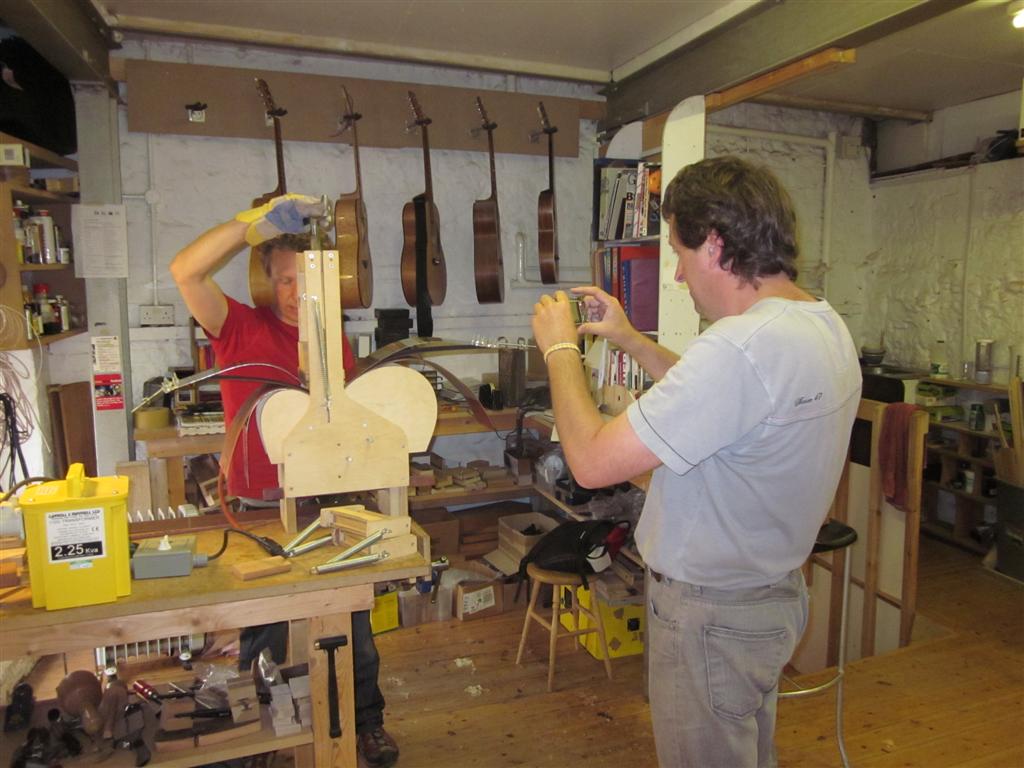 |
| Photographing the photographer |
 |
| Planing the back |
In Summary . . .
Like yesterday, we are all very surprised and delighted with the progress that we are making. Richard has the right balance between telling and showing you how to do something and then letting you get on with it - but of course keeping a watchful eye over some critical stages. And again, it is a terrific idea that we all started at different points as it is very interesting to see what the others are doing - both in terms of understanding the entire process and also when waiting for Richard to ask him a question.
It is all good so far . . . !
Lewes Arms . . .
We didn't need to go too far for tonght's pint . . . in fact if you tripped outside the workshop you would probably stumble into the Lewes Arms. That's our excuse anyway - and of course we needed to do some background research for this blog. The pub itself is more than 220 years old and according to the locals nothing has changed much over that time. Apart from the 'relatively common' games of toads and crib, the pub also organises the World Pea Throwing Championship (record is 38.7 metres!), the annual Dwyle Flunking match and the annual Marbles tournament!
Check this out if you don't believe me! http://www.lewesarms.org.uk/history.asp

No comments:
Post a Comment