Back Revealed . . .
As usual, Phil and I were at the workshop early this morning – and the key keeper was not late today! This first thing I did before Richard arrived was to take the masking and binding tape off the back . . . this is a surprisingly laborious and tedious task as you need to do it quite carefully so as not to rip or tear any grains of wood. I am delighted to say that the binding looks wonderful – and will look even better when I scrape and sand it all back.
 |
| Back binding revealed |
 |
| It needs a good scrape and sand |
Purfling Revealed . . .
My real first job of the morning was to take the purfling out of the clamps and clean up my rather expertly prepared squeeze out and then plane a nice straight edge using the shooting board and the block plane. The shaving made a lovely pattern – you will see that it is definitely made of two strips of white and two strips of black veneer – and the purfling will reveal these lines.
Once all that was done I cut three 2mm (plus a little bit) wide strips with the bandsaw – I will only need two but I prepared an extra one as I noticed that the others broke at least one while bending them. Luckily I didn’t break any, but I did find bending the very narrow strips of purlfing very difficult to do well – too much heat and they start to twist. This is possible to get out, but it takes a certain skill that I do not possess.
 |
| Opening the package |
 |
| You can see the thin veneers of wood |
 |
| Smoothing off one edge |
 |
| Liquorice Allsorts . . . |
 |
| Bending the purfling |
 |
| A very conservative design . . . just like me! |
Great Precision . . .
One of the big things I will take away from this course is the need for great accuracy and precision in measuring and preparation . . . and Richard is amazing to watch. He manually inserted the binding and purfling into the slots we prepared yesterday all around the guitar and noticed that both Phil and I needed and another 0.1mm taken off the purfling channel – and so we had another whizz round with the router (luckily not annoying our neighbour). He even took some extra small slivers off with a chisel and file in parts that Phil and I could not even see were needed.
 |
| A routing touch up . . . |
Technical Talk . . .
Nick arrived right on cue to talk about routing. It seems there are many different ways to do everything associated with guitar making – including routing the binding and purfling channels. Without getting too detailed (because I don't know enough for that), Richard’s method involves the router staying still in a jig and moving the guitar (in a cradle) around (a lot) on the special table. Nick’s method keeps the guitar stationary (clamped down) and carefully routing around the edges with a hand-held router – which is held in place by a flat surface on the horizontal axis and a metal guide on the vertical axis.
Both Nick and Richard also discussed the relative merits of which direction should be routed first – and I must say this wasn’t even a consideration in my mind but of course makes sense. Fundamentally, the rotation of the router bit needs to be considered in relation to the grain – cutting against it can rip some pieces out ahead of the cutting (and make a messy edge).
 |
| Nick showing us his method |
 |
| Held in place at four points - two each longitudinally and laterally |
 |
| The hand lathed brace . . . can you make me one please Lloyd |
 |
| It is how you hold your lips . . . |
 |
| Dr Nick at the lectern |
The Luthier’s Other Friend . . .
We have learned that any woodworking shop should have some specialist super glues at hand . . . they are part of Richard’s special box of tricks when something does not go quite to plan. For example, if two pieces of purfling do not line up exactly (remembering that purfling is veneer stuck together with eges showing) the trick is to create a little space on one side of one veneer, move the offending one slightly so that it lines up and zap it with super glue!
 |
| Superglue!!! |
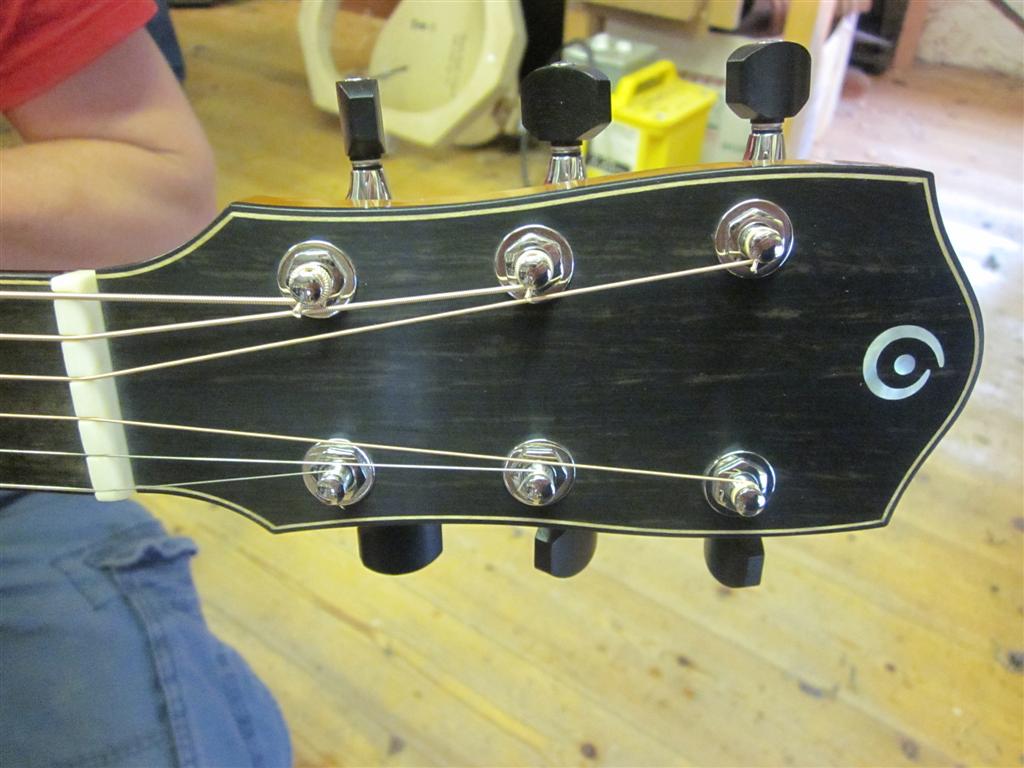
Head Design . . .
We are all getting to the point of having to design our own headstock shape . . . so it was out with some guitars and books to explore various options.
 |
| I really like Richard's headstock shape - Gibsonesque at the base |
On with the Binding and Purfling . . .
It was now time to get the binding and purfling in place on the top. The same process as for the bindings on the back is used – of course with the additional complication of the purfling being glued down at the same time. In summary, the process is to put half the binding in place, mark the bottom section and cut to size and rough cut the section that will be under the neck. Glue it in place and, using heaps of tape to bind it down very firmly. Do the same with the other side – although the purfling is offered to the already glued piece of purfling after the binding is in place and a great deal of care is needed to get perfect joins.
 |
| Half done |
 |
| The very latest pre-battered look |
Scraping . . .
The scraper has been one of the most surprisingly useful tools that we have used so far . . . it is simply a piece of high quality flat steel that has been burnished. Any areas proud of the main surface, including lumps of glue (that damned squeeze-out again) come off with a few judicious passes of the scraper. And so we set off for some hours of scraping and sanding. In my case, I started with the back as my front binding and purfling were still drying.
Sanding . . .
Today we were basically doing the same things all day . . . although ‘stealthman’ Patrick did some rough shaping of the neck block – where the neck meets the guitar body.
 |
| Even more scraping |
 |
| The neck goes here |
 |
| 'Stealthman' taking the lectern |
‘Two-time’ Phil re-did the glueing of his binding and purfling, made another purfling (because one broke!) and also started marking out his neck block.
 |
| Bloody hell - it has shrunk overnight! |
 |
| Scraping |
 |
| Scraping |
 |
| Scraped |
 |
| Sanding - again |
 |
| Cutting the neck |
Ancient Order of Lutherie
I don’t know how many times I have been asked what ‘luthier’ means . . . it is someone who makes or repairs lutes and other stringed instruments. The term is used interchangeably with guitar maker, violin maker, lute maker and the like – and it comes from the French word ‘luth’ which I am told means ‘lute’.
Wikipedia being my special friend, two important early luthiers in the guitar category were Panormo and Stauffer. Antonio Torres Jurado is credited with developing the form of classical guitar that is still in use today, and Christian Frederick Martin of Germany (and the USA and of CF Martin fame) developed a form that evolved into the modern steel-string acoustic guitar. Concurrent with Fender's work, guitarist Les Paul independently developed a solid body electric guitar. These were the first fretted solid body electric guitars—though they were preceded by the cast aluminium "frying pan," a solid body electric lap steel guitar developed and eventually patented by George Beauchamp, and built by Adolph Rickenbacher (of Rickenbacher fame). A company founded by luthier Friedrich Gretsch and continued by his son and grandson, Fred and Fred Jr., originally made banjos, but is more famous today for its electric guitars. Vintage guitars are often sought by collectors.
And now we understand why Nick has been coming into the workshop every day . . . as a member of the Ancient Order of Luthiers he is responsible for preparing us for admission and today Patrick was fitted for his graduation mortarboard!
 |
| Mmm - very nice! |


No comments:
Post a Comment